Tuesday, September 27, 2011

Indonesian Shadow Puppets

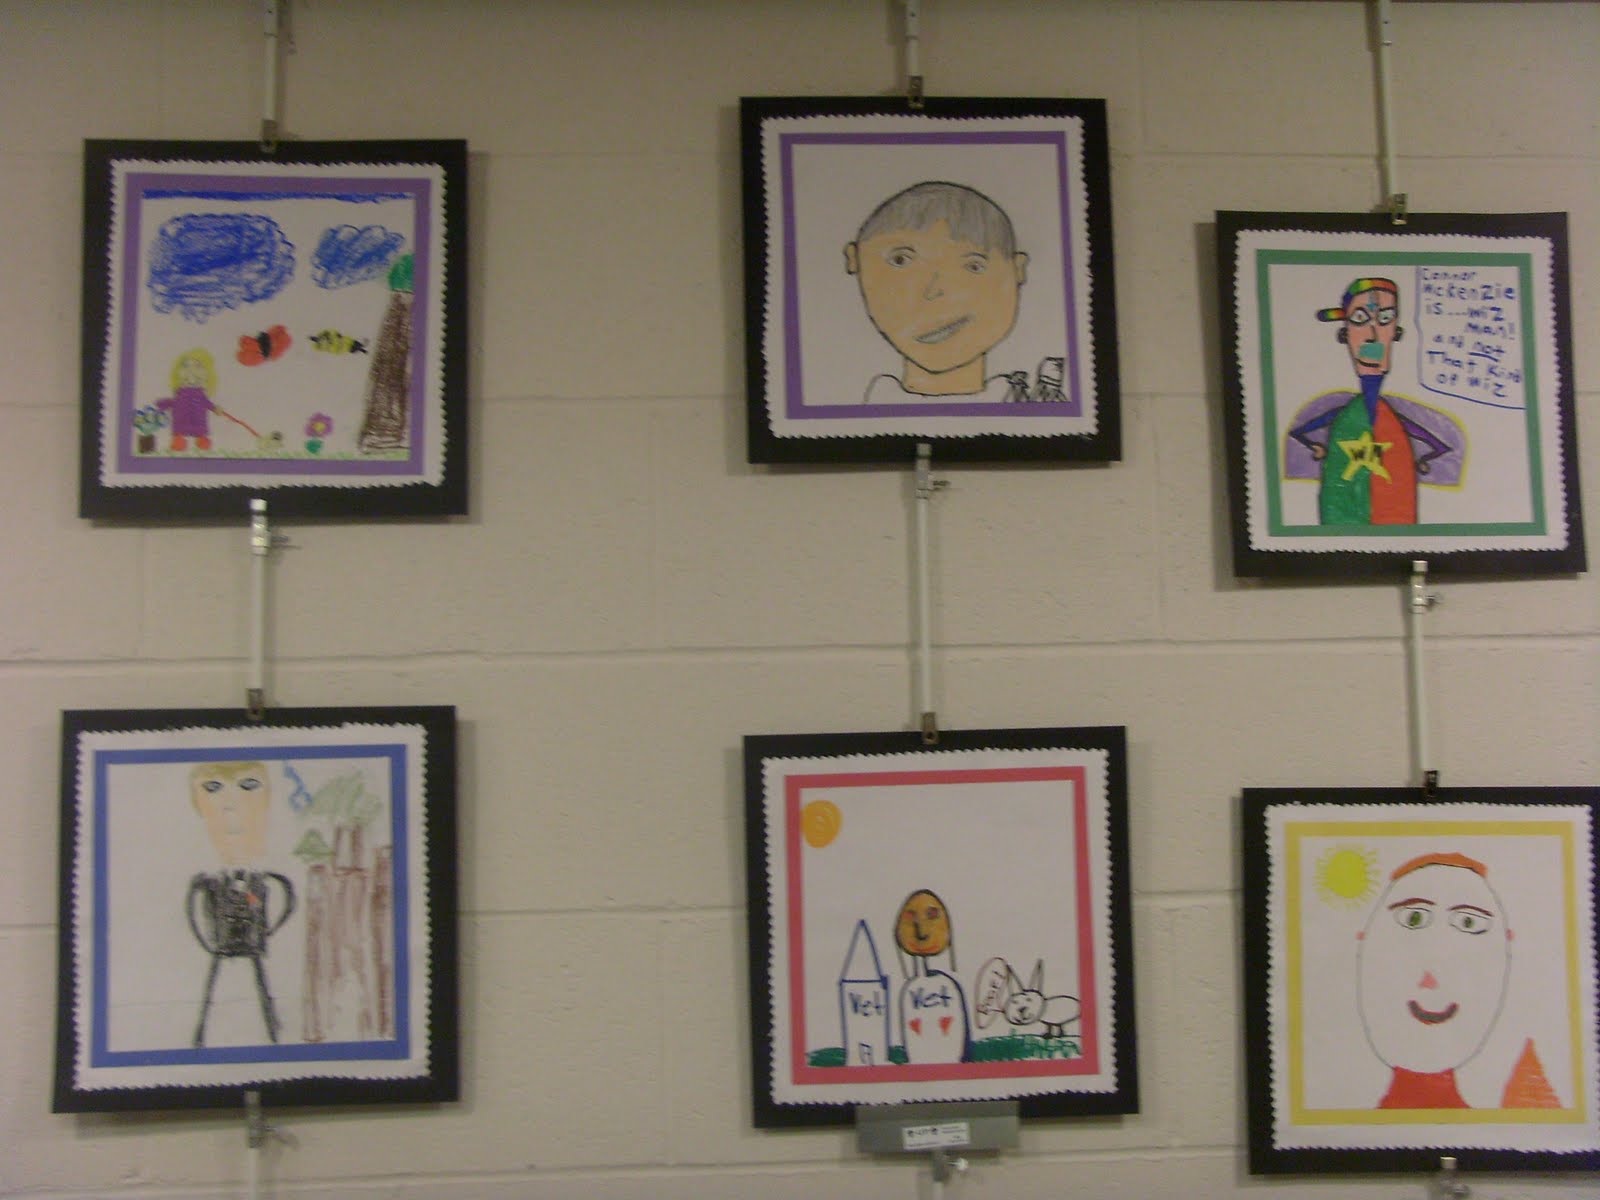
Shadow Puppets on display at Picasso's Basement Gallery Show at the library!
Traditional Shadow Puppet


I'm going to cut to the chase with this post. No ramblings about how the Picasso's Basement kids and I "traveled" to Indonesia and learned about the culture and ate Indonesian fruit. Which we did. But what we really did that even I found miraculous was that we made SHADOW PUPPETS!  You know those beautifully carved and decorated puppets that are manipulated with sticks? And are then shown behind a screen? Well, we made them! Sorry, I don't mean to gush but it was pretty cool!


MATERIALS:

  • Black Card Stock
  • Hot Glue Gun
  • Strong Balsa sticks from craft store (test them at the store: too thin and they will break)
  • Xacto knife (teacher should use this)
  • Scissors
  • Pencil
  • Markers that show up on black paper (Gel markers often do)
  • Fasteners from the stationery store (the gold kind that you poke in the holes and then bend back)

Artist with her mermaid puppet
Each artist sketched out their ideas and then drew them on the black card stock with a pencil (you could see the lines fairly well.) Then they cut out the basic shapes with scissors and brought it to me to use my xacto knife to help with some of the detail work. I encouraged details because it would add to the effect when a light was shined on them and the shadow was created. We cut eyes and mouths into them, made cuts for hair and fingers. I asked all the artists to be sure to add at least one appendage which was cut separately and attached with a fastener.

NOTE: If you are doing this project encourage the kids to make the appendages wide, at least in the spot where it connects with the body. The more delicate the appendage the more likely it is to break off. This is another prime example of my learning curve: I realized that appendages were too delicate about half way through the lesson.

Anyhow, after you attach the appendages with the fasteners the fasteners can be trimmed from behind (by an adult or older child only) with sharp scissors. The artists then embellished their puppets with the markers. We used the hot glue gun to attach the sticks to the puppets. And here they are:
Artists with their shadow puppets (complete with articulated tails, arms, etc.)
Posing unhappily because they REALLY wanted to put on their puppet show!
I have to say I'm so proud of the Picasso's Basement artists. They utilized so many new skills, were patient while waiting for help with the details, and were amazingly creative. I thought they would all make people. But we ended up with a monster, a horror movie character, a cat, a giant person, a mermaid, a pegasus, a hippie with his Love Bus, and (last but not least) Zeus with his lightening bolt! Fantastic work, guys! And thank you to my teen assistant who kept the peace through all of this!


Tuesday, September 20, 2011

Draw Like an Egyptian

OK, OK, I know it's a TERRIBLE title for this post. Sometimes you just have to follow your heart.

Day 3 of Art Camp: Sarcophaguses

This was a very ambitious project for one day. Maybe too ambitious. But it worked out pretty well. 

Sarcophagus and Mummy
It required the following:

  • Pictures of Sarcophaguses for reference
  • Pictures of Egyptian Hyroglyphics and Symbolism
  • Pencil 
  • Brown Craft Paper
  • Craft Acrylic or Tempera Paint and brushes
  • Wide Permanent Markers (All hail the Sharpie!)
  • A pre-made snack
  • A lot more time than we had

We looked at many pictures of Egyptian art and architecture but in the end settled on some of the most fascinating elements: the burial techniques and the beautifully decorated sarcophaguses.


The children took turns lying on the ground on top of a strip of kraft paper and we drew their outline. Then we formed the shape into a  sarcophagus and the children drew in their faces and body shapes. I asked them to look at how the hair was drawn, the headdresses, the facial features and the symbols used on the bodies.  We discussed the symmetry of the design and I was excited to see one artist completely disregard this and make hers intentionally asymmetrical. The artists sketched in pencil first and dove right in to the paint. I bought a nice high quality gold and they loved using it.


As the paint dried we ate hummus, pita, and olives (along with fruit snacks and goldfish, of course) and played the mummy wrap game. This was a bigger hit than I imagined it would be and it was played several times.

Lastly we returned to our work stations and added detailing and outlines with our markers. A few kids chose to finish up their work on another day.

In hindsight I wish I'd saved this project for a regular art lesson rather than camp so the artists could have taken more into consideration: how to hold their arms, whether to give their sarcophagus a staff to hold, etc. But the artists created some very very beautiful work.


Sunday, September 11, 2011

Art Gallery Show!

I’m happy to report that the Picasso’s Basement Kids is having it’s fist Gallery Show at the Scotch Plains Public Library on Bartle Ave in Scotch Plains, NJ (for all you local art lovers.) The artwork will be on view through Saturday, September 17th.

Our First Group Pose!

Our Gallery Opening was this past Saturday.  It was a huge hit thanks to the talents of many artistic kids and their very lovely and generous parents. (A special shout out to Lisa and Lorri who brought us AMAZING cookies and delicious sparkling juices and kisses to Claudia and family who trekked in from afar.)

Thanks also to the staff of the Scotch Plains Library who were lovely, helpful and generous with their time. And to any patrons we may have disturbed with our enthusiastic noise: my sincere apologies!

Artists in front of their sarcophoguses
wearing shirts made at camp!
The children were excited to share their work and trade Artist Business Cards that I made using their Postage Stamp Self Portraits.
If you can’t make it to the show here’s a little sampling:

 Shadow Puppets

Postage Stamp Self Portraits

Tuesday, September 6, 2011

Russian Architecture

Russian Architecture: Day 2 of Art Camp

Time to recap another day of my first Picasso's Basement Art Camp.

On the second day of art camp we traveled to Russia. We looked at Russian architecture, some of which is noted for it’s Byzantine influences. Many of the more famous structures feature onion domes, bold colors, and arches. Working with only recycled items (shoe boxes, food boxes, paper towel rolls, and soda bottles) and some plastic baseballs covered with Paper Mache the artists began to paint patterns with craft acrylic paint. When it dried later they became architects and worked as a group to assemble their structure with I helped them glue together with a hot glue gun. VOILA!

Russian Building
Snacks were just sad that day. The children helped me bake (what should have been) delicious Russian teacakes. Unfortunately, I’m not Julia Child and I measured the flour incorrectly. They smelled delicious but they looked like this:
Bad Teacakes

Good Teacakes
Luckily I had a little of the batter left and I added some more flour. The next day we were able to enjoy them.

Nesting dolls were the next order of business. I used manila cardboard to cut out the shapes of nesting dolls and the children made all sorts: animals, constellations, and EEEK! serial killers (because when you don’t watch the kids as you clean up, those pop-culture themes just creep right in!)  But I won’t bother showing them here. The kids had fun with them but truthfully a good part of their energies that day were used on the Byzantine building. 
Lesson learned: One good project is all anyone needs!

Friday, September 2, 2011

WHY THE NEW BLOG TITLE, PAULA?


I am changing my blog title from Artburbia to “Picasso’s Basement”. The old title worked for me while I was finding my way in the art teaching world, balancing parenting, suburban living (which at times still felt foreign to me after my years in Brooklyn, New York), illustrating, and learning how to teach.
Now that I clearly have found my groove with this teaching business and I seem to be spending all my time thinking up new lessons it feels like it’s time for a change. My art classes are called “Picasso’s Basement” so it seemed only natural to pick that for a new title.
I’m curious to see if you like the change. What do you think of the new title? Is there a time that you found you wanted to change something in order to reflect what was happening in your own life?

Thursday, September 1, 2011

Around The World With Picasso's Basement! First stop: New Zealand

I’m incredibly excited! I am planning Picasso’s Basement first Art Show complete with a Gallery Opening. (Yes, I'm excited enough to feature BOLD TYPE!) It will be held at the Scotch Plains Library in N.J. on Saturday, September 10th from 1:30-3:00pm and the work will remain on view afterwards. Highlighted will be the art created during our weeklong Around the World Art Camp.

This was my first attempt at an Art Camp and I’m thoroughly convinced that I had even more fun than the kids! Each day we went to a different country, created a piece or two of art, had an appropriate (although at times disastrous) snack and played games. It was hard narrowing down the countries and I did my best to vary it up. This week I’ll try to do a post for each day. Most of the lesson plans were self-created and most of them were even successful.  Less successful was attempting to get my older son to man the phones. Many thanks are owed to my wonderful teen assistant, Nancy, who helped all the kids and kept me from making too many mistakes!

OK: Here goes the week! 

DAY 1: NEW ZEALAND, The Maori People and their art 
After learning of how the Maori people traveled to New Zealand and were it’s first inhabitants we looked at their absolutely gorgeous art. Exquisite intricate carvings, amazing tikis, and beautiful tattoos. Virtually everything the Maoris wore, lived in, or used was adorned with incredible swirling designs.

The Artists looked at pictures of the Maori sea monster, the marakihau, a mermaid like evil creature that was thought to have a hollow tongue that could suck up the sea, boats, even men! Using pencils they sketched pictures of their own sea monsters and then created a finished drawing with oil pastels. Then, using a black tempera wash, they painted their papers. Pop! Nothing like a little water-based resist to make your oil pastel colors really stand out!


Following that we drew facial tattoos.
Even the Maori women tattooed their faces: in fact some still do. The kids enjoyed their tattoos a heck of a lot more than the “banana scallops” that we made (think Fried Plantain Ala Kellogg’s). Most of them chose Goldfish crackers instead. Ah well, more for me!

Campers sporting facial tattoos. I'm not sure if their parents were happy about this!

As a last activity we looked at the huge variety of tiki faces and everyone made a tiki necklace out of recycled paper. We “laminated” them with clear contact paper and by the end of the day we were a mighty festooned bunch!

Whoa. I’m exhausted just thinking about all we did! But I guess it wasn’t TOO much activity because they all came back the next day!

IN OUR NEXT INSTALLMENT: Picasso’s Basement’s trip to Russia! See you back here for more fun!